
Did you know that construction workers exposed to silica dust are five times more likely to develop serious respiratory problems than the general population? That’s right. And after your beautiful remodeling project, that same dangerous dust is now coating every surface of your home.
I didn’t plan to become an expert on post-construction cleaning. But after walking into my “finished” kitchen renovation last year and taking a deep breath that left me coughing for ten minutes straight, something had to give. That fine powder had infiltrated everything—even rooms supposedly “sealed off” from the construction zone.
If you’re staring at a layer of demolition aftermath wondering where to even begin, you’re in the right place. As someone who’s been there (and inhaled that), I’m sharing my battle-tested strategy for reclaiming your space from the grip of construction dust.
Why Construction Dust Isn’t Just an Annoyance—It’s a Health Hazard
Our renovation contractor was… casual… about the dust situation. “Just run a vacuum through, it’ll be fine,” he said with a shrug. What he failed to mention was that standard cleaning approaches can actually make things worse.
Construction dust isn’t your everyday household dust. It’s a complex mixture that can contain:
- Silica particles from concrete, drywall, and bricks that can damage your lungs over time
- Asbestos fibers in older homes that are linked to serious long-term health conditions
- Wood dust that can trigger severe allergic reactions
- Fiberglass particles that irritate skin and respiratory systems
The real eye-opener? Studies show that about 2 million construction workers are exposed to silica dust annually, with many developing respiratory issues as a result. And that’s professionals who (theoretically) have proper protection. For homeowners, the risk is even higher since we’re typically unprepared for this invisible enemy.
My Personal Post-Construction Cleaning Nightmare
A week after our “completed” kitchen remodel, I was still finding dust in the strangest places. The bathroom towels two rooms away? Gritty. Inside kitchen drawers that hadn’t been opened during construction? Dusty. My morning coffee even had a distinctive… crunch.
But when my daughter started complaining about a persistent cough (and giving me that “you said this would be over weeks ago” look), I knew we needed professional help. That’s when I discovered Morgan’s Cleaning and their specialized deep cleaning services.
The difference was night and day. Where I had been essentially pushing dust around, they had a systematic approach that actually eliminated it. After seeing the professionals at work, I picked up techniques that changed my approach entirely.
8 Pro Tips to Banish Construction Dust For Good
1. Start with HVAC Protection (Before It’s Too Late)
The mistake? Forgetting your air ducts exist until you turn on the heat and suddenly it’s snowing dust bunnies inside your house.
During our renovation, I made the rookie error of not covering vents. When we finally switched the system back on… well, let’s just say we created an indoor dust storm that undid hours of cleaning. The HVAC system had become a dust reservoir, happily distributing particles throughout the entire house.
The solution: Before construction begins, turn off your HVAC system and seal all vents and returns with plastic sheeting and tape. If you’re past that point, you’ll need a thorough HVAC cleaning before running the system again.
For my second bathroom renovation, I was smarter—covering every vent religiously. The difference was remarkable. No mysterious dust appearing in distant bedrooms!
2. Work Top-Down with the Right Equipment
The mistake? Starting with the floors while dust still lurks above.
I wasted an entire Saturday meticulously mopping my floors, only to look up and notice the ceiling fan blades still coated in dust. One switch of the fan later, and my clean floors looked like they’d been sprinkled with gray snow.
The solution: Gravity is your cleaning companion—or your worst enemy. Start with ceiling fixtures, then walls, then furniture, and floors last. And forget your household vacuum unless it has a HEPA filter—you’ll just shoot fine particles back into the air.
When the team from Morgan’s Cleaning tackled my living room, I noticed they used specialized vacuums with HEPA filtration that captured even the tiniest dust particles. They methodically moved from ceiling corners down to baseboards, ensuring dust had nowhere to hide.
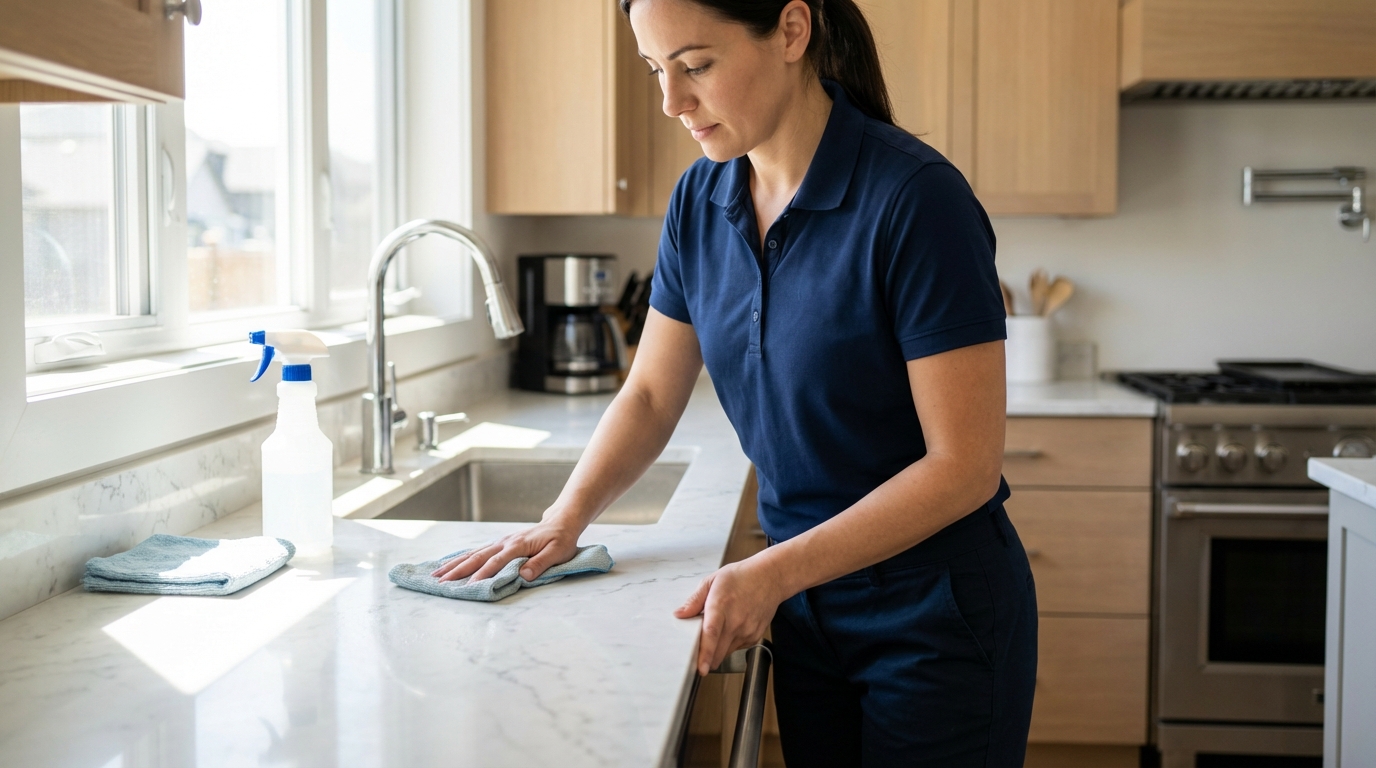
3. The Damp Dusting Revolution
The mistake? Using dry dusting methods that just relocate dust.
After watching countless dust particles dance in a sunbeam following my enthusiastic dusting session, I realized I was just giving the dust a new home, not removing it.
The solution: Damp microfiber cloths are your new best friend. They actually capture and hold dust rather than dispersing it. For wood surfaces, slightly dampen a microfiber cloth with a wood-appropriate cleaner. For other surfaces, a water-dampened cloth works wonders.
The pros at Morgan’s had a system—color-coded microfiber cloths for different surfaces, always slightly damp, and folded in quarters so they could use a fresh surface just by refolding. Simple but brilliant.
4. Tackling Sticky Dust Situations
The mistake? Underestimating how stubborn construction dust can be.
Some construction dust isn’t just loose particles—it creates a film that seems to have bonded molecularly with your surfaces. My windowsills looked clean until the sun hit them just right, revealing a hazy film that regular cleaning wouldn’t touch.
The solution: For this stubborn layer, you need slightly more aggressive tactics. A mixture of warm water with a few drops of dish soap works for most surfaces. For really tough residue, a mixture of equal parts white vinegar and warm water cuts through even the most determined dust film.
This approach saved my glass shower doors that had developed a cloudy appearance from airborne drywall dust. After trying commercial cleaners with no success, this simple solution restored their clarity in minutes.
5. Don’t Forget These Dust Hideouts
The mistake? Cleaning only what’s visible.
After declaring our bedroom “dust-free,” I opened my closet to find a fine layer of white powder on every hanging item. Construction dust is sneaky—it infiltrates closed spaces you wouldn’t expect.
The solution: Pay special attention to these often-overlooked dust magnets:
- Inside drawers and cabinets (even if they were closed)
- Window tracks and blinds (a dust paradise)
- Electronics and their ventilation openings
- Light fixtures and ceiling fan blades
- Behind and under furniture
- Inside closets (yes, even your clothes need attention)
I’ve found that a small paintbrush can be perfect for dislodging dust from tight corners before vacuuming it away. For delicate electronics, compressed air can be a lifesaver.
6. The Air Purifier Strategy
The mistake? Thinking dust is only a surface problem.
Even after our initial cleaning blitz, I would wake up with that telltale construction-dust scratchy throat. The invisible particles were still circulating in our air.
The solution: A good quality air purifier with a HEPA filter can capture airborne dust particles as small as 0.3 microns. Position it strategically and let it run continuously for several days after cleaning.
The difference was remarkable—no more morning throat irritation or mysterious new dust layers overnight. For larger homes, moving the purifier from room to room over several days can help clean the entire house’s air volume.
After seeing the amount of dust collected in the filter after just 24 hours, I realized just how much had been lingering in our air. No wonder my daughter’s cough had persisted!
7. The Final Floor Finish
The mistake? Using dry sweeping methods for final floor cleanup.
I spent hours sweeping our hardwood floors, only to find them still gritty underfoot afterward. Traditional sweeping just doesn’t cut it for the fine particles in construction dust.
The solution: For hard floors, use a damp microfiber mop system—the kind with a removable, washable pad. For the initial pass, dampen the pad slightly more than you normally would to help capture maximum dust. Follow up with a cleaner appropriate for your floor type.
For carpets, you’ll need multiple passes with a HEPA-filtered vacuum, moving slowly to allow the vacuum to extract embedded particles. If your renovation was extensive, consider having carpets professionally cleaned, as Morgan’s Cleaning offers specialized carpet cleaning services that can extract even deeply embedded construction dust.
8. The Maintenance Plan
The mistake? Thinking one cleaning is enough.
After our “thorough” initial cleaning, I was dismayed to find new dust appearing mysteriously for weeks. Construction dust can continue to settle for a surprisingly long time after the project ends.
The solution: Plan for multiple cleanings over several weeks. The first major cleaning removes the bulk of visible dust, but you’ll need to follow up with lighter cleanings every few days for at least two weeks.
Keep your HVAC filter fresh during this time—check it weekly and replace as needed. You might be shocked at how quickly it becomes clogged with construction residue.
Real People, Real Results
Don’t just take my word for it. Here’s what other homeowners are saying about professional post-construction cleaning:
“After our kitchen remodel, we tried cleaning ourselves for two weekends straight. We were still finding dust everywhere. Morgan’s Cleaning came in and in ONE DAY our house was back to normal. Wish we’d called them first!” – Sarah M., Ellicott City
Morgan’s Cleaning has built their reputation on turning construction chaos back into comfortable homes. Their reviews page is filled with similar stories from relieved homeowners.
When to Call the Professionals
While these DIY approaches can work for smaller renovations, there are definitely times when calling in professionals like Morgan’s Cleaning makes sense:
- If your renovation was extensive (involving multiple rooms)
- If you have family members with respiratory issues or allergies
- If your home was built before 1980 (potential asbestos concerns)
- If you’re finding the dust overwhelming despite your best efforts
- If you simply don’t have the time for multiple thorough cleanings
Professional cleaning services have specialized equipment designed specifically for post-construction cleaning that most homeowners don’t have access to. Their systematic approach ensures no area is overlooked.
My Personal Verdict
Is post-construction cleaning challenging? Absolutely. But with the right approach—or the right professionals—you can reclaim your space from the dust monster.
The morning after Morgan’s Cleaning finished with our home, I came downstairs to make coffee. No crunch. No film on the counters. No dust bunnies scurrying across the floor when I walked. Just our beautiful new kitchen, finally ready to enjoy.
For large renovation projects, I now budget for professional cleaning from the start—it’s as essential as any other part of the remodeling process. For smaller projects, I follow the system I’ve outlined here, which has saved me countless hours of frustration.
Ready to Banish Construction Dust?
Whether you tackle it yourself or bring in the experts, don’t underestimate construction dust. It’s not just about aesthetics—it’s about creating a healthy living environment after your renovation.
If you’re in the Owings Mills area and facing the post-construction cleaning challenge, Morgan’s Cleaning offers specialized services designed specifically for this situation. Their team understands the unique challenges of construction dust and how to eliminate it effectively.
Call Morgan’s Cleaning at 240-498-8827 or contact them online to schedule your post-construction cleaning and breathe easy in your newly renovated space. Their team is available Monday through Friday, 8:00 AM to 6:00 PM, to help restore your home to its dust-free glory.